Tools
How to Use a Drill, Hammer Drill, Jigsaw and Level: A Beginner’s Guide
Learn to use the four tools every DIYer needs: cordless drill, hammer drill, jigsaw and spirit level — settings, techniques and safety tips for beginners.
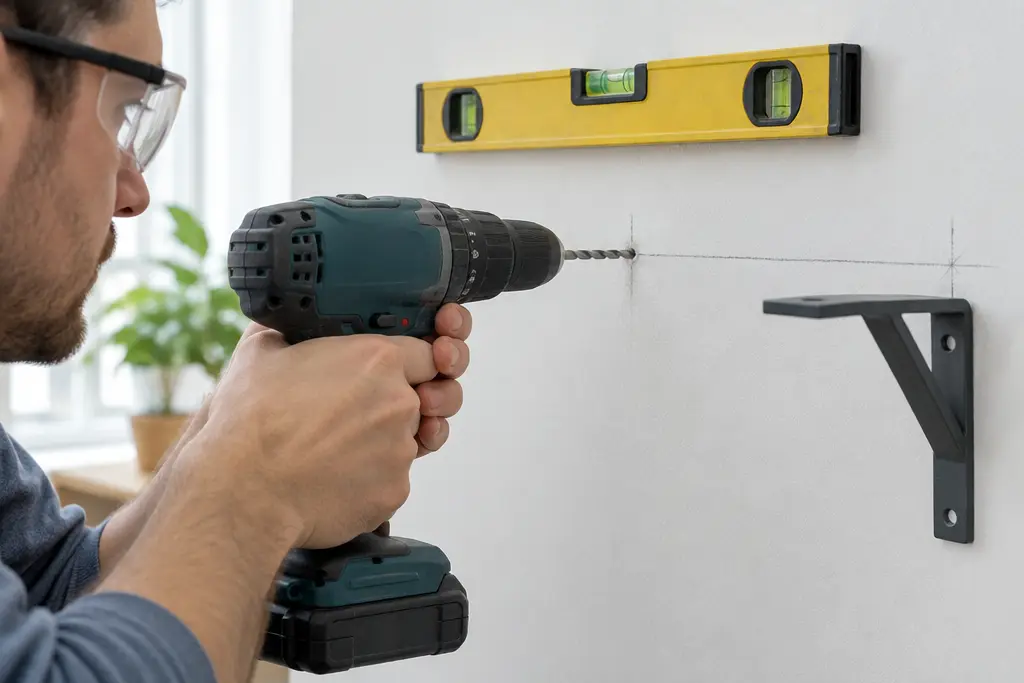
- Difficulty
- Beginner
- Time
- 1 hour of practice
Four tools do most of the work in a home renovation. Spend an hour practicing on scrap wood before you touch a wall and you'll be surprised how quickly they feel natural.
The cordless drill/driver
Know the controls
- Chuck — the jaws that grip the bit. Tighten by hand firmly.
- Clutch ring (numbers 1–20+) — limits the torque so screws don't strip or sink too deep. Low numbers for small screws and soft material, higher for big screws.
- Drill symbol on the clutch — full power, for drilling holes.
- Speed switch (1/2) — 1 = slow, strong (driving screws); 2 = fast (drilling holes).
- Forward/reverse button — reverse to remove screws.
Driving a screw
- Set speed 1 and a clutch number around 5–8.
- Press the screw tip into the material, hold the drill straight and in line with the screw.
- Start slowly, then increase speed. Push firmly so the bit doesn't "cam out" and strip the head.
- If the clutch clicks before the screw is flush, go up a number.
Drilling a hole
- Mark the spot with a pencil cross; on tile, stick masking tape over it so the bit doesn't wander.
- Choose the right bit: wood bits (sharp center point), metal/HSS bits, masonry bits (carbide tip) or tile/glass bits.
- Speed 2 for wood and metal; start slow on tile.
- Wrap tape around the bit as a depth stop, e.g. the length of your wall anchor + 1/4 in (5 mm).
The hammer drill
A hammer drill adds a rapid pounding action to the rotation, which chips through brick, block and concrete. Switch the mode to the hammer symbol and use masonry bits only.
- Let the tool do the work — steady pressure, don't lean your whole weight on it.
- Pull the bit out every few seconds to clear dust.
- Never use hammer mode on tile — drill through the tile in normal mode, then switch to hammer for the masonry behind it.
- For poured concrete or lots of holes, rent an SDS rotary hammer; it's far faster.
The jigsaw
A jigsaw cuts curves and straight lines in wood, plywood, laminate and even thin metal with the right blade.
- Choose the blade: fine-tooth for clean cuts in laminate and finished wood, coarse for fast rough cuts.
- Clamp the workpiece so the cut line hangs over the edge of the table.
- Rest the shoe (base plate) flat on the material, blade not touching it, then start the saw.
- Guide gently along the line — don't force it. For straight cuts, clamp a straight board as a guide fence.
- Blade teeth point up and cut on the up-stroke, so the top face chips. Cut laminate and finished panels with the good face down, or put masking tape on the line.
- Let the blade stop fully before lifting the saw.
The spirit level
- The bubble centered between the lines = level (horizontal vial) or plumb (vertical vial).
- Check your level: read it, flip it end-for-end in the same spot. If the bubble reads differently, the level is off.
- For long runs (a row of shelves or tiles), a straight board plus level or a laser level is more accurate than a short level alone.
Hanging something on a wall: putting it all together
- Scan with a stud finder. Screwing into a stud is always strongest.
- Mark positions with a level and pencil.
- No stud? Use anchors sized for the load: plastic plugs for light items, spring toggles or metal self-drilling anchors for heavier ones.
- Drill, insert anchor, drive screw with the clutch set low so you don't crush the drywall.
Ready for a real project? Try our DIY floating shelves — a perfect first build.
Keep reading
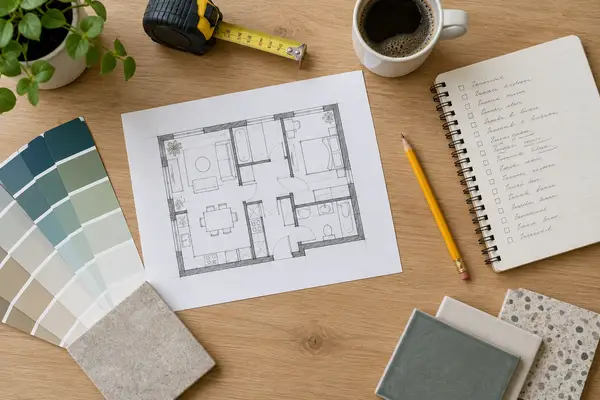
How to plan a renovation (and the right order of work)
Set the budget, then follow the order pros use: demolition, rough work, walls, ceiling, floors, finishes.
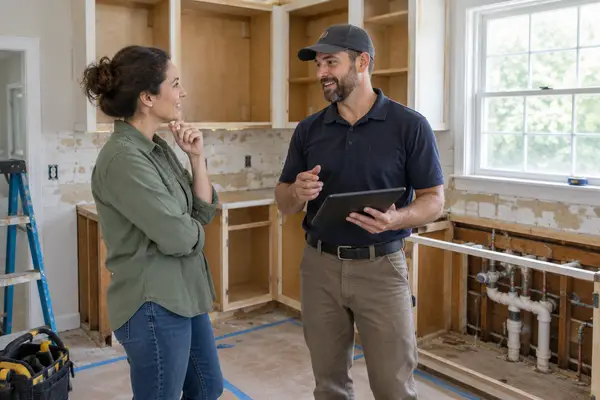
DIY or hire a pro? A job-by-job guide
A traffic-light table of common jobs — green for DIY, amber for "practice first", red for licensed pros.
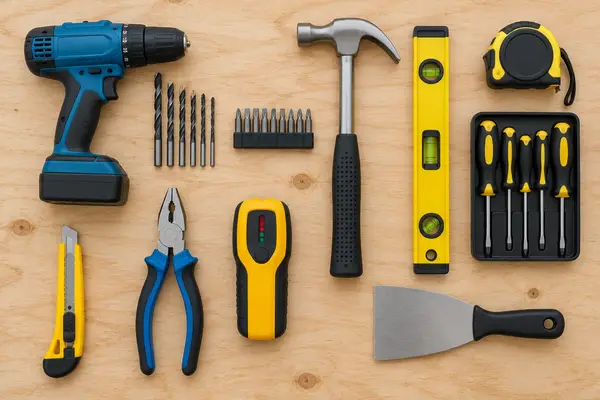
The beginner tool kit: 15 tools you actually need
The 15 tools that handle most home jobs, what to look for when buying, and what can wait.