Weekend project
How to Build and Hang DIY Floating Shelves
Build and hang sturdy floating shelves with hidden brackets: choosing brackets, finding studs, leveling, mounting and styling — the perfect first DIY project.
- Difficulty
- Beginner
- Time
- 3–4 hours
- Cost
- Low
Floating shelves look clean and modern because the support is hidden inside the shelf. The secret to shelves that don't droop: a strong hidden bracket, screwed into studs.
Materials
- Hidden (concealed) floating-shelf brackets rated for your load — rod-type or plate-type
- Solid wood boards at least 1.5 in (38 mm) thick, or ready-made hollow shelves designed for the bracket
- Wood screws long enough to reach well into studs (usually 3 in / 75 mm), or heavy-duty anchors
- Wood finish: oil, stain or paint
- Drill, spade or brad-point bit matching the bracket rods, stud finder, level, tape measure, pencil, clamps
Step 1: Plan position and load
Mark where you want the shelves with painter's tape to judge the look. For kitchens and books, aim for at least two studs per shelf. Typical spacing between shelves is 12–16 in (30–40 cm).
Step 2: Prepare the shelf
- Cut boards to length and sand (120 then 180 grit).
- Mark the bracket rod positions on the back edge of each board, centered in the thickness.
- Drill holes for the rods, keeping the drill perfectly straight — use a drilling guide or a scrap block drilled square as a jig. Tape on the bit marks the depth.
- Apply the finish and let it dry before mounting.
Step 3: Mount the bracket
- Find studs with the stud finder and mark them. Check for wires and pipes.
- Hold the bracket at the right height, check with a level, mark screw holes.
- Drill pilot holes and screw the bracket into the studs. Use heavy-duty anchors only where a stud isn't available and only for light loads.
- Recheck level — adjust before fully tightening.
Step 4: Slide on the shelf
Slide the board over the rods until it sits tight to the wall. Some brackets allow a small screw from underneath to lock the shelf in place. If the wall isn't flat, a thin bead of paintable caulk hides the gap.
Step 5: Style it
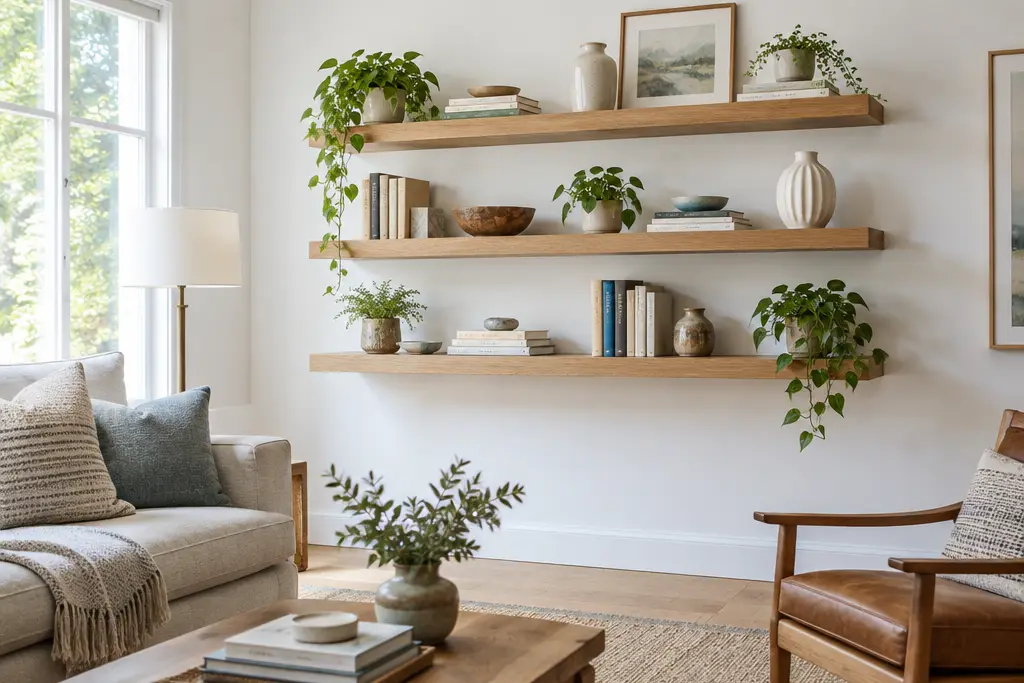
- Group items in odd numbers and vary heights.
- Mix books (horizontal and vertical), ceramics, plants and one or two personal items.
- Leave about a third of the shelf empty — breathing room looks intentional.
Keep reading
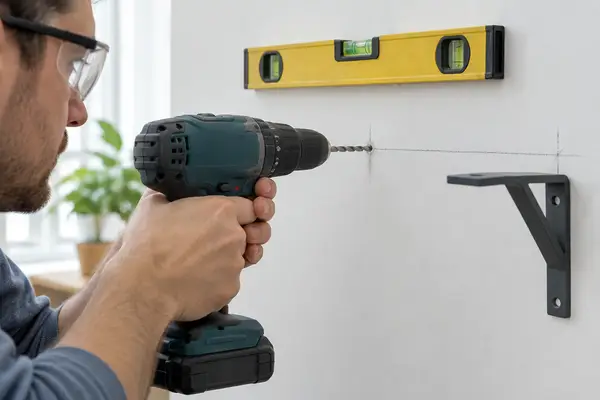
How to use a drill, hammer drill, jigsaw and level
Clutch settings, drilling into drywall, brick and tile, straight jigsaw cuts and reading a level.
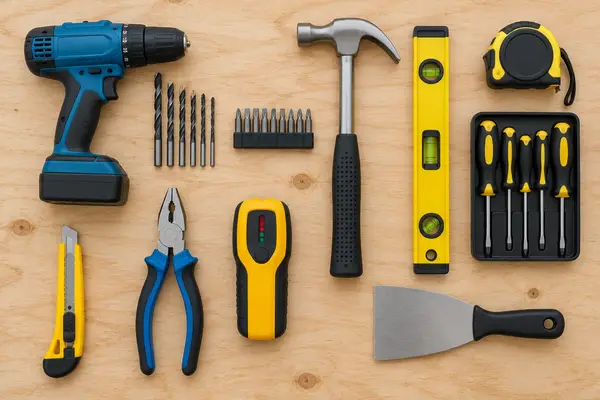
The beginner tool kit: 15 tools you actually need
The 15 tools that handle most home jobs, what to look for when buying, and what can wait.
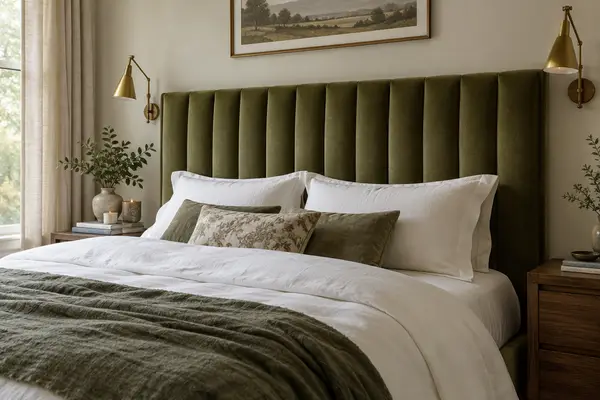
DIY upholstered headboard
Plywood, foam and velvet — build a padded headboard and hang it on a French cleat.