Bedroom project
DIY Upholstered Headboard: A Hotel Look for a Fraction of the Price
Make a padded, channel-tufted or simple upholstered headboard from plywood, foam and fabric, and mount it securely to the wall with a French cleat.
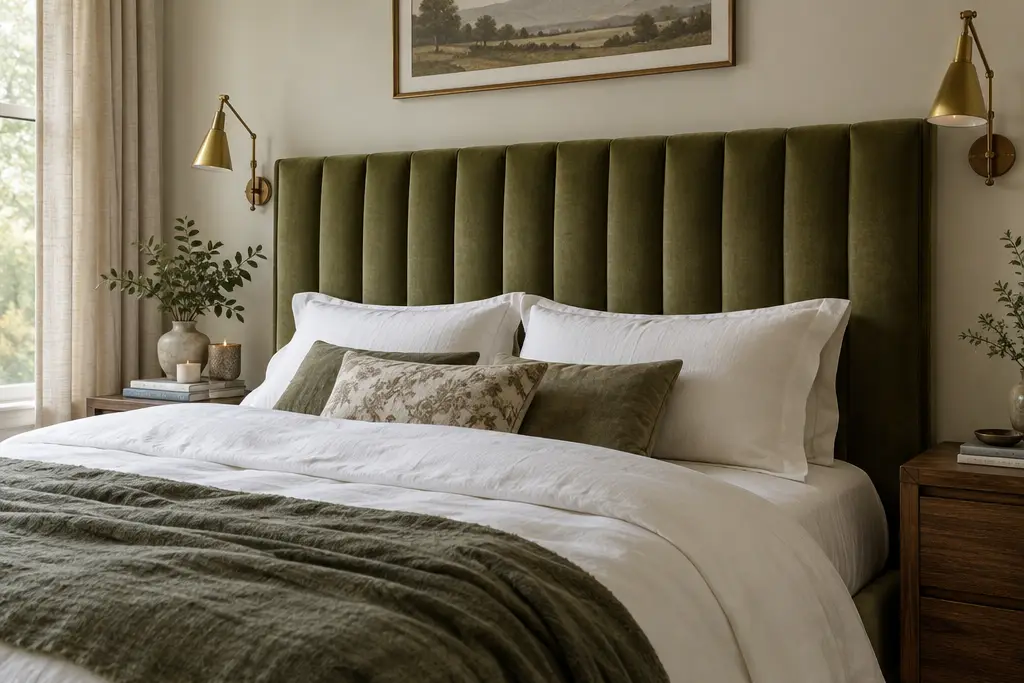
- Difficulty
- Beginner
- Time
- 1 day
- Cost
- Low–Medium
An upholstered headboard instantly makes a bedroom feel finished. This version is wall-mounted, which means no legs to line up with the bed frame and a perfectly level, floating look.
Materials
- 1/2 in (12 mm) plywood or MDF cut to size — typically bed width plus 4–6 in (10–15 cm), 24–36 in (60–90 cm) tall
- 2 in (5 cm) upholstery foam, spray adhesive
- Polyester batting
- Upholstery fabric (velvet, linen, bouclé) — measure board plus 6 in (15 cm) on each side
- Staple gun and staples, scissors, marker
- French cleat (two strips of wood cut at 45°, or a metal cleat) and screws
Simple padded headboard
- Round the top corners with a jigsaw if you like a softer shape. Sand the edges.
- Glue the foam to the board with spray adhesive (outdoors or well ventilated). Trim flush.
- Lay the batting on the floor, board foam-side down on top. Wrap and staple at the back, starting at the center of each side and working out.
- Repeat with the fabric, keeping it taut and the grain straight. Fold corners like wrapping a present and staple neatly.
- Staple a piece of plain fabric over the back for a clean finish (optional).
Channel-tufted version
Instead of one foam sheet, glue strips of foam (e.g. 6 in / 15 cm wide) vertically with small gaps between them. Wrap the fabric and push it into each gap, securing with staples or a thin strip of wood screwed from behind. The result is the popular channel look.
Mounting with a French cleat
- Screw one half of the cleat to the back of the headboard near the top, angle pointing down towards the board.
- Screw the other half to the wall into at least two studs, angle pointing up and toward the wall, perfectly level.
- Lift the headboard and drop it onto the wall cleat — it locks itself tight to the wall.
- Add a spacer strip at the bottom of the headboard so it hangs vertically.
Keep reading
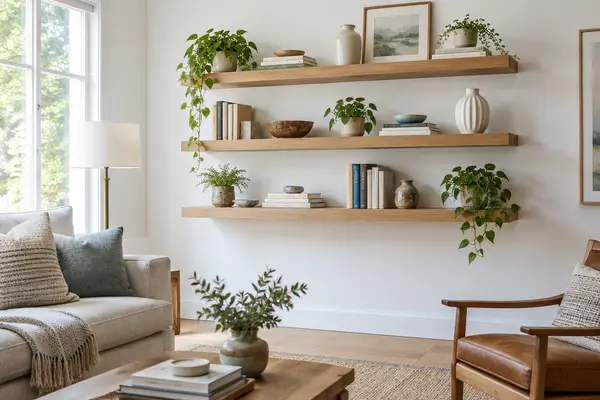
DIY floating shelves
Hidden-bracket shelves that actually hold books — the perfect first build.
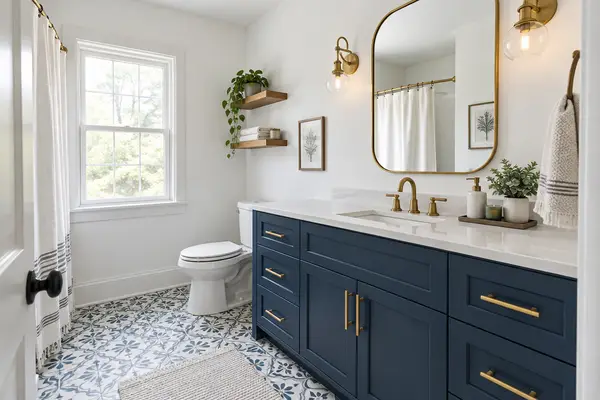
Budget bathroom makeover (no demolition)
Paint the vanity, regrout, new lights and mirror — a new-look bathroom without demolition.
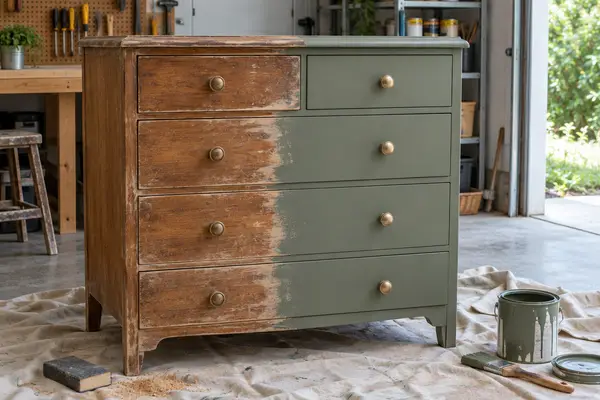
Furniture flip: how to paint a dresser
Clean, sand, prime, paint, seal — turn a thrift-store dresser into a statement piece.