Start here
How to Plan a Renovation: The Right Order of Work, Step by Step
A beginner-friendly renovation plan: set goals and budget, then follow the correct order of work — demolition, rough-in, walls, floors, finishes — without redoing anything.
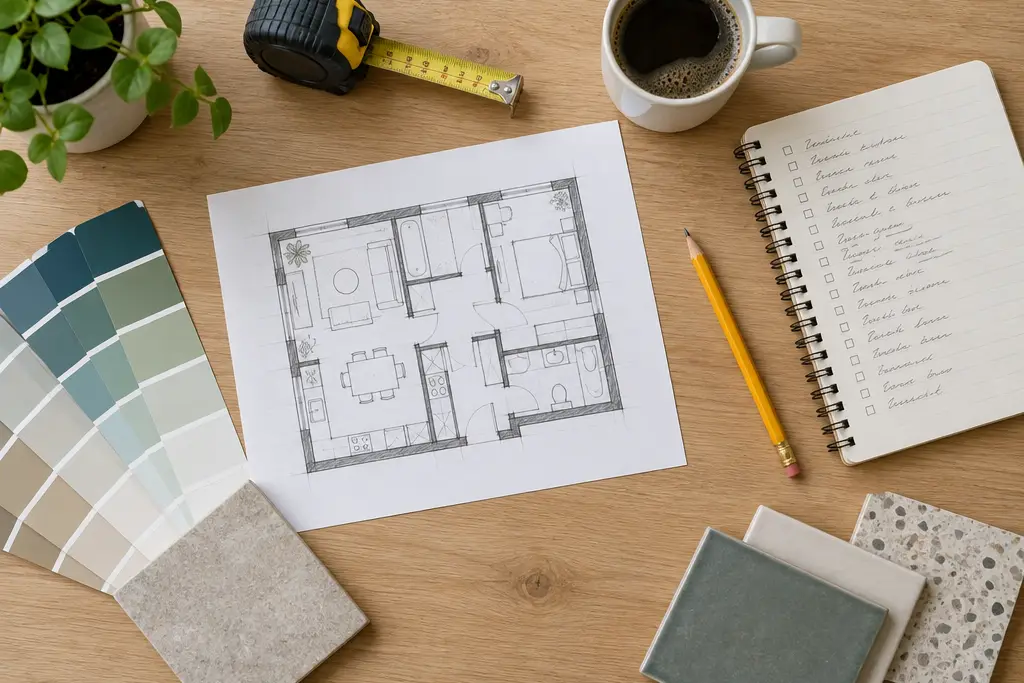
- Difficulty
- Beginner
- Time
- 1–2 evenings of planning
Every experienced renovator follows the same logic: dirty and hidden work first, clean and visible work last. If you tile the floor and then run new wiring, you will be patching and repainting. If you paint and then sand the ceiling, you will be painting twice. A plan prevents that.
Step 1: Decide what you really want
Walk through the room and write down three lists: must fix (leaks, broken outlets, rotten sills), must change (layout, storage, flooring you hate) and nice to have (new lights, an accent wall). Fixes always come before looks.
Take photos and measure the room: length, width, ceiling height, door and window sizes. You will need these numbers for every material estimate — our renovation calculators turn them into gallons, rolls and boxes.
Step 2: Set a realistic budget
- Price materials first — they are easy to look up.
- Get at least two quotes for any work you will hire out (electrical, plumbing, big tiling jobs).
- Add a contingency of 10–25%. Old houses hide surprises behind drywall.
- Track everything in our free budget planner.
Step 3: Split the jobs: DIY or pro
Be honest about skill, time and risk. Painting, wallpaper, laminate flooring and simple repairs are ideal first projects. Anything involving new electrical circuits, gas, structural walls or moving drain lines belongs to licensed pros. Our guide DIY or hire a pro? goes through each job.
Step 4: Follow the right order of work
This is the sequence used on almost every renovation, from a single bedroom to a whole house:
- Protect and prepare. Move furniture out, cover floors in other rooms, set up a dust barrier, turn off power to circuits you will work near.
- Demolition. Remove old flooring, tiles, fixtures, wallpaper, built-ins. Get the debris out before new materials arrive.
- Structural and "rough-in" work. Framing changes, new or moved plumbing pipes and drains, electrical wiring and boxes, ventilation ducts. This is when walls are open — the cheapest moment to add outlets or blocking for shelves and TV mounts.
- Windows and exterior doors if they are being replaced, so wall finishes can meet them cleanly.
- Insulation and inspections (if permits were required).
- Walls and ceilings — rough. Drywall, plaster, screeds for floors, leveling. Everything wet needs time to dry, so plan drying days.
- Tiling in bathrooms and kitchens (walls, then floors).
- Finishing walls and ceiling. Skim coat, sanding, priming, painting — ceiling first, then walls. Wallpaper after painting the ceiling and trim.
- Finished flooring. Laminate, vinyl, wood. It goes in after the messy work so it doesn't get damaged.
- Interior doors, trim and baseboards.
- Final fixtures. Outlet covers, switches, light fixtures, faucets, toilet, appliances, cabinet hardware.
- Touch-ups, deep clean, decor.
Step 5: Order materials early
Tiles, custom countertops, windows and some flooring can take weeks to arrive. Order them once measurements are final, and always buy extra: about 10% for tile and flooring, one extra roll of wallpaper, and paint from the same batch.
Step 6: Build a realistic schedule
Beginners typically work 2–3 times slower than pros, and drying times are not negotiable: joint compound needs about 24 hours between coats, tile adhesive 24 hours before grouting, a sand-cement screed several weeks before wood-based flooring. Write the drying days into your plan so you don't get tempted to rush.
A sample timeline: one bedroom refresh
| Day | Work |
|---|---|
| 1 | Empty room, remove old carpet and baseboards, patch holes |
| 2 | Second coat of patching, sand, prime |
| 3 | Paint ceiling, first coat on walls |
| 4 | Second coat on walls, paint new baseboards |
| 5–6 | Install laminate flooring |
| 7 | Install baseboards, switch plates, lights; clean |
Next, read the 20 most common beginner mistakes — five minutes that can save a weekend.
Frequently asked questions
Should I paint walls or install floors first?
Paint the ceiling and walls first, then install the finished floor. If you are only refinishing an existing floor, protect it well; a final touch-up coat on the walls and baseboards comes last.
How much contingency should a renovation budget have?
Plan 10–15% for cosmetic updates and 15–25% for older homes or anything that opens walls and floors, where hidden problems are common.
Do I need a permit?
Cosmetic work (painting, flooring, replacing fixtures like-for-like) usually does not need one. Moving walls, plumbing or electrical circuits, and structural changes usually do. Rules vary, so call your local building department before you start.
Keep reading
DIY or hire a pro? A job-by-job guide
A traffic-light table of common jobs — green for DIY, amber for "practice first", red for licensed pros.

The beginner tool kit: 15 tools you actually need
The 15 tools that handle most home jobs, what to look for when buying, and what can wait.
Buy or rent? Which tools to own
A simple rule of thumb, plus the heavy equipment you should almost always rent.