Walls
How to Skim Coat a Wall for a Smooth Finish
Learn to skim coat walls with joint compound: mixing, applying thin coats with a wide knife or roller, sanding and priming — for smooth walls ready to paint.
- Difficulty
- Intermediate
- Time
- 2–3 days incl. drying
- Cost
- Low
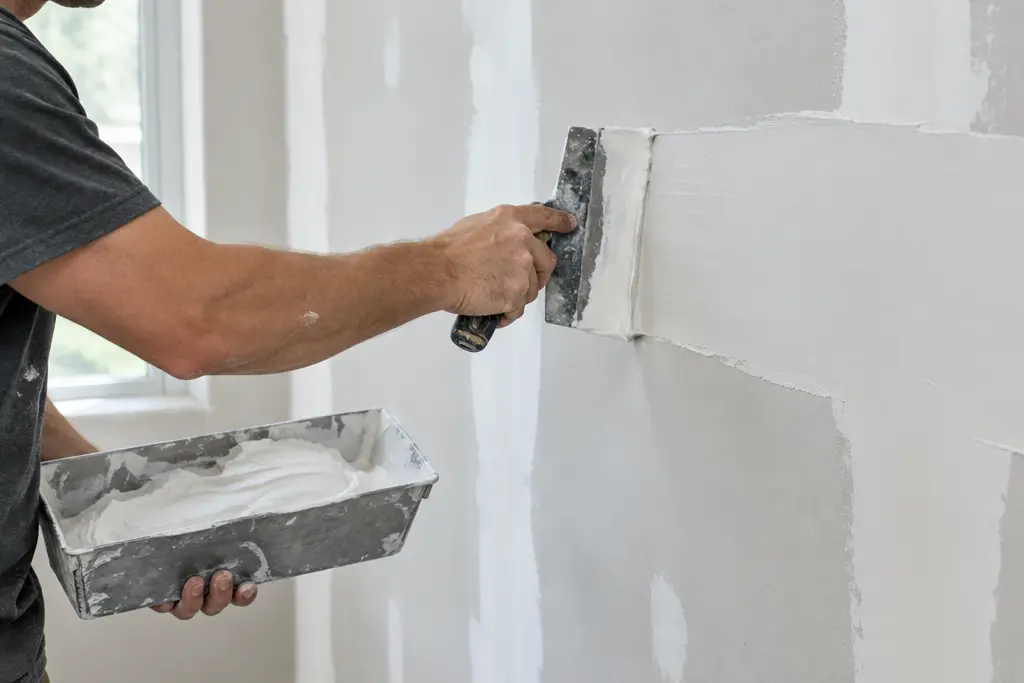
Skim coating is spreading a very thin layer of joint compound over an entire wall to hide imperfections — torn paper after wallpaper removal, patchy repairs, light texture or old plaster. It takes practice, but it's forgiving: anything you don't like can be sanded.
Tools and materials
- Lightweight or all-purpose joint compound (or finishing plaster powder)
- Mud pan, 6 in (15 cm) knife and 10–12 in (25–30 cm) taping knife — or a roller with thick nap plus a wide squeegee knife
- Drill with mixing paddle
- Pole sander or sanding sponge, 120–150 grit; work light
- Primer (PVA or stain-blocking, depending on the wall)
- Dust mask, plastic sheeting
Step 1: Prepare the wall
- Remove loose paint and scrape bumps. Fill deep holes first with setting compound.
- If paper facing is torn (bubbles), seal it with a shellac or oil-based primer — water in the compound would otherwise make it bubble more.
- Glossy walls: scuff-sand or use a bonding primer.
Step 2: Mix the compound
Thin pre-mixed compound with a little water to the consistency of thick yogurt or sour cream. It should spread easily but not run. Mix with a paddle at low speed to avoid air bubbles.
Step 3: Apply the first coat
- Work in sections about 3 ft (1 m) wide.
- Load the knife or roll the compound on generously.
- Pull the wide knife across with firm, even pressure at a low angle, leaving a thin layer. Overlap strokes slightly.
- Knock down ridges from the previous pass as you go.
- Don't chase perfection — the second coat fixes the first.
Step 4: Second coat, opposite direction
When the first coat is fully dry (usually overnight), lightly knock off ridges with the knife, then apply the second coat perpendicular to the first — horizontal if the first was vertical. This fills low spots left by the first pass.
Step 5: Sand and check
Sand lightly with 120–150 grit. Hold a work light close to the wall at a sharp angle to reveal every flaw; circle them in pencil and spot-fill. Vacuum or wipe off the dust.
Step 6: Prime and paint
Always prime a skim coat with a drywall primer before painting — compound is very absorbent and will make the paint look patchy otherwise. Then follow how to paint a room.
Keep reading
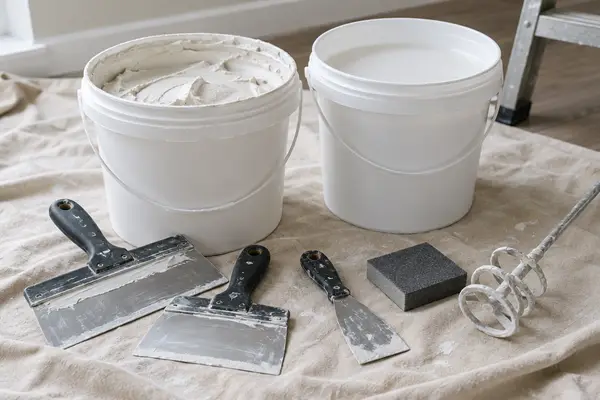
Primer, spackle, joint compound, plaster: the differences
What each wall product does, which to buy for which job, and in what order to use them.
Plaster, skim coat & screed calculator
How many bags of plaster, skim coat, self-leveler or screed for your area and thickness.
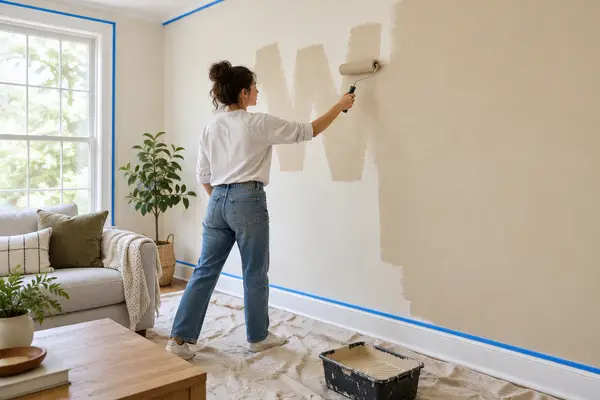
How to paint a room like a pro
Prep, cut in, roll, repeat — the full method for crisp lines and no streaks.