Floors
How to Install Laminate Flooring: A Complete Beginner Guide
Install click-lock laminate or vinyl plank flooring yourself: subfloor prep, underlayment, layout, expansion gaps, cutting, door jambs and finishing trim.
- Difficulty
- Beginner–Intermediate
- Time
- 1–2 days per room
- Cost
- Medium
Click-lock laminate and vinyl plank floors were designed for DIY: no glue, no nails, and a room can be done in a weekend. Success is 70% preparation.
Tools and materials
- Flooring (buy 7–10% extra — use the flooring calculator)
- Underlayment (if not pre-attached) and vapor barrier over concrete
- Spacers, tapping block, pull bar, rubber mallet
- Jigsaw or miter saw (or a laminate cutter), tape measure, square, pencil
- Oscillating multi-tool or jamb saw for door frames
- Knee pads, safety glasses
Step 1: Acclimate and prepare
- Leave the unopened boxes flat in the room for 48 hours.
- Remove baseboards (number them if you'll reuse them).
- Check flatness with a long straightedge. Typical tolerance is about 1/8 in over 6 ft or 3 mm over 2 m — check your product. Grind humps, fill dips with leveling compound.
- Vacuum thoroughly. On concrete, lay a vapor barrier with overlapping, taped seams.
- Undercut door jambs so planks slide underneath: lay a plank and underlayment on the floor as a guide and saw along it.
Step 2: Plan the layout
Measure the room width and divide by plank width. If the last row would be narrower than about 2 in (5 cm), rip the first row narrower so both edge rows are similar. Planks usually run parallel to the longest wall or towards the main window.
Step 3: Install
- Roll out underlayment one row at a time, seams butted and taped.
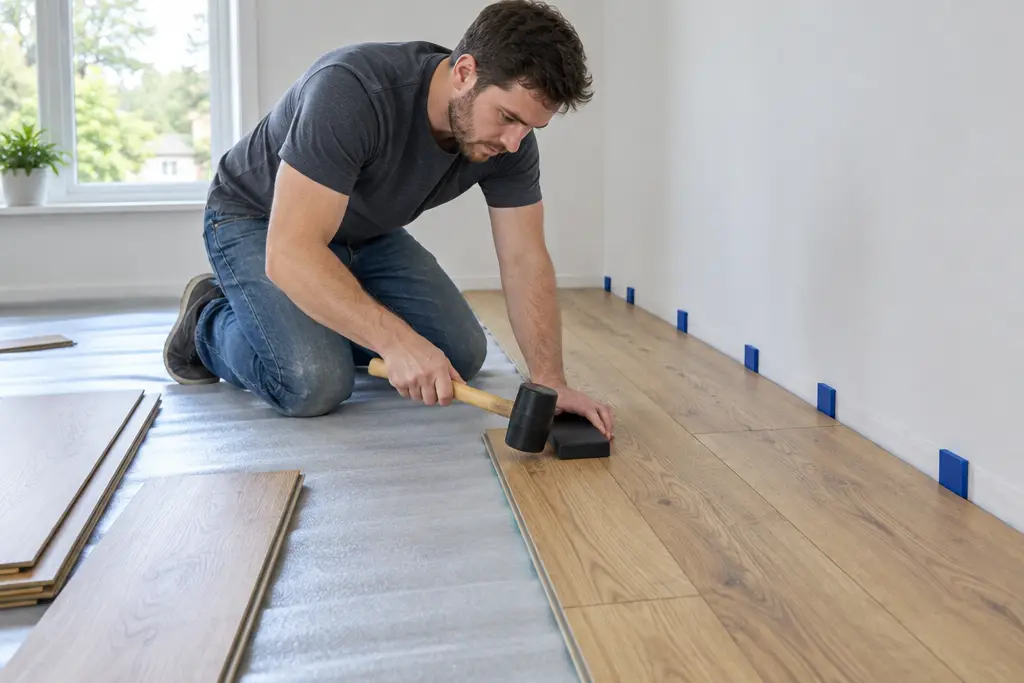
- Start in a left corner with the tongue side facing the wall (check instructions). Place spacers to keep a 1/4–3/8 in (8–10 mm) expansion gap.
- Click the short ends of the first row together. Cut the last plank to length; use the offcut to start row two if it's at least 12 in (30 cm) long.
- Stagger end joints at least 12 in (30 cm) between rows — no "H" or stair-step patterns.
- Angle each new plank into the previous row, lower it and tap gently with the tapping block. Never hit the plank edge directly.
- Use the pull bar for the last row against the wall.
Step 4: Obstacles
- Pipes: drill a hole 3/4 in (20 mm) larger than the pipe, cut the plank through the hole, glue the small piece back behind the pipe. Cover with a pipe rose.
- Doorways: slide the plank under the undercut jamb; you may need to remove the locking lip and glue that joint.
- Transitions: stop the floor at doorways between rooms (or every 30–40 ft / 10–12 m) and use a T-molding or threshold, per manufacturer rules.
Step 5: Finish
Remove spacers, reinstall baseboards or add quarter-round. Nail trim to the wall, never through the floor — a floating floor must move freely. Heavy fixed cabinets should never sit on top of a floating floor.
Frequently asked questions
Which direction should laminate run?
Usually parallel to the longest wall or to the main light source (the window). This makes the room look larger and hides joints.
Can I install laminate over tile?
Often yes, if the tile is firmly attached and flat. Check the manufacturer’s flatness tolerance and remember the extra height at doors.
Keep reading
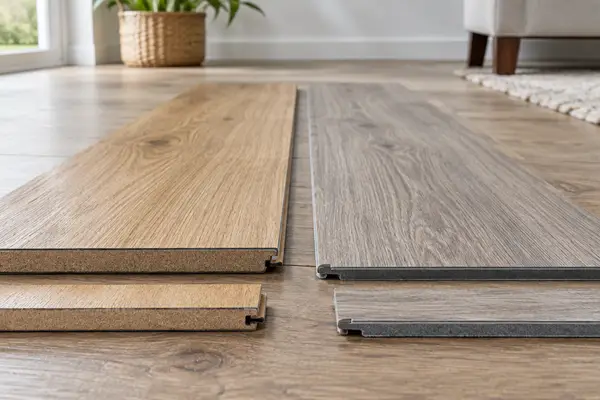
Laminate vs vinyl plank flooring
Water resistance, durability, comfort, noise, looks and price — room-by-room verdict.
Laminate & vinyl flooring calculator
Boxes of laminate or vinyl, underlayment and baseboard length for any room.
How to use a drill, hammer drill, jigsaw and level
Clutch settings, drilling into drywall, brick and tile, straight jigsaw cuts and reading a level.